The Hum of Time: Understanding Transformer Degradation in Vintage Radios
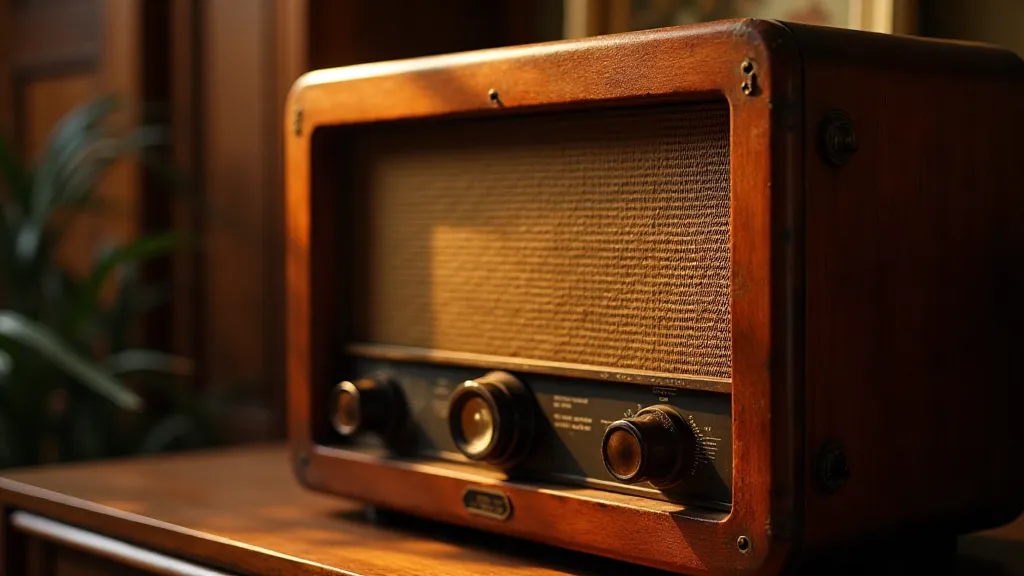
There's a particular magic held within an antique radio. It's not just the warm glow of the tubes, or the crackle of static; it's the palpable connection to a past era, a time when craftsmanship was paramount and technology felt almost… reverent. Holding one, even a non-working example, is like grasping a piece of history, a silent witness to countless family gatherings and late-night broadcasts. And at the heart of that intricate system, often overlooked but undeniably crucial, lies the transformer. These often-silent workhorses bear the brunt of electrical stresses over decades, and understanding their degradation is key to successfully bringing these beauties back to life.
I remember the first radio I ever restored – a 1938 Atwater Kent. It was a wreck, a basket case really. But the cabinet, the beautiful walnut veneer, the sheer ambition of the design… it captivated me. It took months, learning as I went, poring over schematics, and slowly, painstakingly, piecing it back together. It was then, examining the transformer, feeling its weight, admiring the meticulous winding, that I began to appreciate its vital role. The transformation of voltage, the power distribution – it's all orchestrated by this often-underappreciated component.
The Transformer's Role: More Than Just Voltage Change
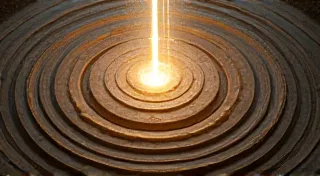
Simply put, a transformer takes alternating current (AC) at a certain voltage and converts it to another voltage level. In a vintage radio, this process is complex. Multiple transformers are common, each serving a specific purpose - power supply, output, sometimes even for impedance matching to the speaker. They’re not just about increasing or decreasing voltage; they’re about isolation, providing a crucial safety barrier between the mains power and the delicate circuitry within. The windings are meticulously calculated based on the radio’s design – the number of turns, the gauge of the wire, the core material (typically laminated steel). This is all meticulously recorded in the original service manuals.
Back in the 1930s and 1940s, transformers were often built to last. The core was typically made from high-grade steel, meticulously insulated, and wound with quality copper wire. These weren't mass-produced items churned out with minimum expense in mind; they were statements of engineering prowess. They were intended to be permanent fixtures, expected to operate reliably for decades.
Degradation: The Silent Enemy of Time
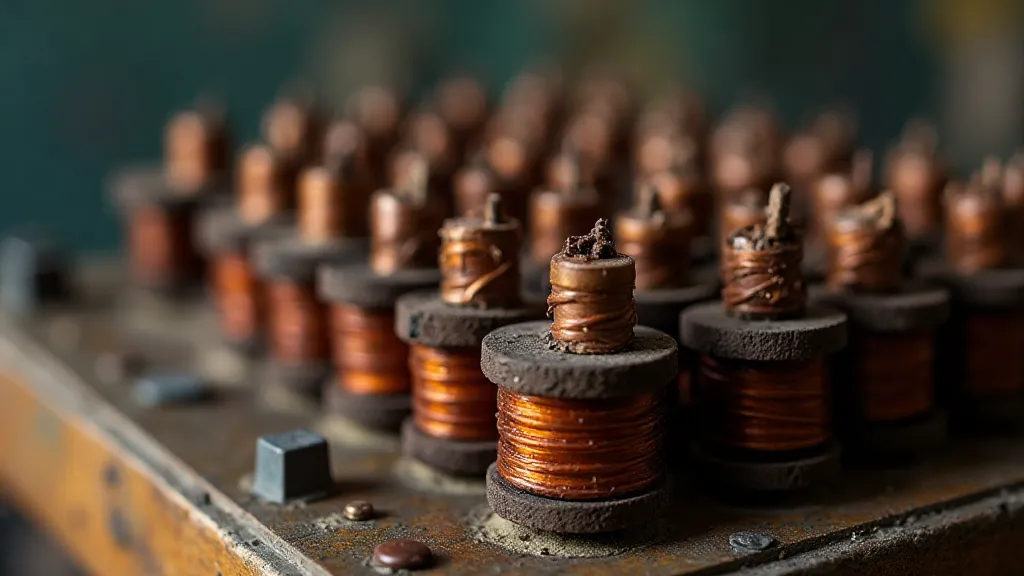
But time, as it always does, takes its toll. The enemies of a transformer are numerous: heat, vibration, humidity, and age itself. The insulation, typically made of varnish or oiled paper, dries out and becomes brittle. This brittleness leads to cracks and fissures, reducing the insulation’s ability to prevent shorts between windings. The laminated steel core can develop rust, increasing its resistance and reducing efficiency. The copper wire itself, while incredibly durable, can become oxidized, increasing its resistance as well. And then there's the varnish – the varnish that holds everything together – it degrades. This is the most common issue.
One of the most visible signs of degradation is the darkening and cracking of the insulation. Sometimes, you can even smell a characteristic "varnished" aroma – a sure sign that the insulation is breaking down. More insidious is the development of internal shorts, which can be difficult to detect without careful testing. The sounds a degraded transformer makes can be clues as well – a buzzing or humming that’s louder than normal, or a rhythmic clicking that indicates loose laminations.
Testing for Transformer Health: A Step-by-Step Approach
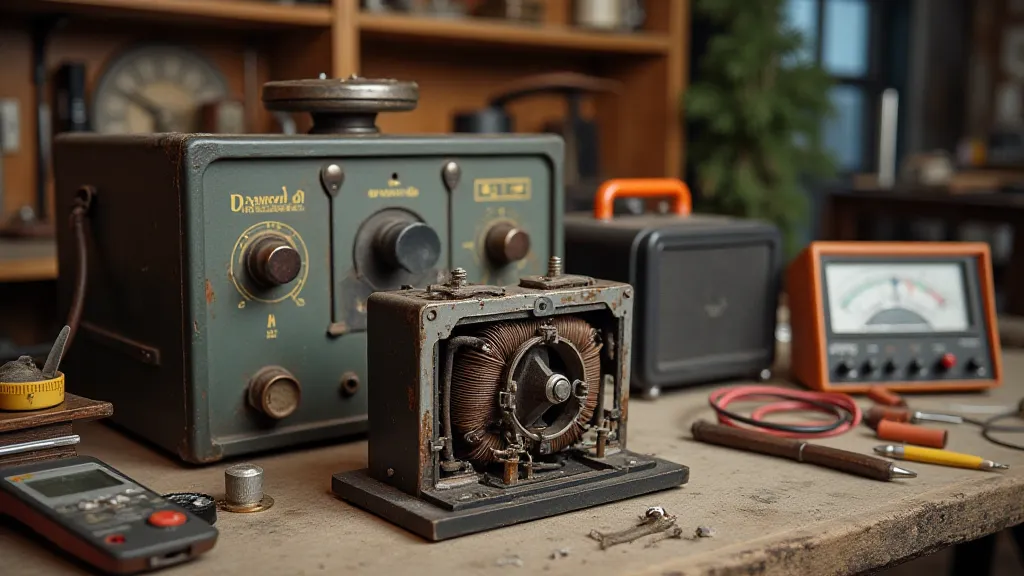
Testing a vintage radio transformer requires a systematic approach. Visual inspection is the first step. Carefully examine the transformer for any signs of physical damage, such as cracks, rust, or bulging. Use a magnifying glass to inspect the insulation for signs of deterioration. The condition of the secondary windings is paramount.
Next, use an ohmmeter to measure the resistance of the primary and secondary windings. A significantly lower than expected resistance indicates a possible short. An open circuit indicates a broken winding, a more serious issue. Insulation resistance testing (using a megohmmeter, or "megger") is crucial for determining the integrity of the insulation. This test applies a high voltage DC to the windings and measures the current leakage. A low insulation resistance reading indicates a compromised insulation.
A signal tracer can also be useful in tracing signals through the transformer, identifying any loss of signal or distortion. Finally, if possible, test the transformer under load. This involves connecting the transformer to a suitable load and measuring its voltage and current output. Any deviation from the expected values indicates a problem.
Repair and Restoration: A Delicate Balancing Act
Repairing a degraded transformer is a challenging but rewarding task. Simple cleaning with a solvent like naphtha can sometimes improve the insulation. For more serious degradation, re-varnishing is often necessary. This involves carefully removing the old varnish, applying a new coat of high-quality varnish, and then baking the transformer to cure the varnish. This process requires extreme care, as improper handling can damage the windings. A vacuum impregnation process is typically used to ensure full coverage and to remove any air bubbles within the windings.
Rewinding a transformer is the most difficult and time-consuming option, and is generally left to specialists. It requires a deep understanding of transformer design and a lot of patience. It’s also important to understand that not all transformers are worth rewinding – the cost of rewinding a vintage transformer can easily exceed the value of the radio itself.
Sometimes, the best course of action is to replace the transformer altogether. Finding a suitable replacement can be difficult, but sometimes you can find a donor transformer from a similar radio. It’s important to ensure that the replacement transformer has the correct voltage and current ratings.
More Than Just Components: A Legacy of Craftsmanship
Restoring antique radios is more than just fixing broken components; it’s about preserving a piece of history. Each transformer, each winding, each meticulously placed component speaks to a time when craftsmanship was valued and technology was a source of wonder. Understanding their function and the challenges they face through age is a crucial step in this process. When you hear the warm hum of a fully restored vintage radio, you’re not just hearing electricity flowing through circuits; you’re hearing the echoes of the past, a testament to the ingenuity and dedication of those who built these remarkable machines. And you’re contributing to the preservation of that legacy, ensuring that these treasures continue to inspire and delight for generations to come.